Precision Training for Real People Who Want Less Aches and More Strength
No Guesswork Fitness for Busy Lives — Results You Can Measure, Time You Can Save.
Welcome! Your Stronger, Healthier Self Starts Now!
Or Call 214-302-9788
Get your health in gear the Elevate Fitness way!
At Elevate Fitness, a private personal training studio in Dallas, we work with busy professionals who want to stay strong, capable, and pain-free—without guesswork.
Our expert coaches provide one-on-one personal training and create custom strength and mobility programs based on your body, your goals, and your schedule—helping you build sustainable strength, improve movement, and support long-term health safely and efficiently.
No fads. No wasted sessions.
Just intelligent personal training designed to protect your body and respect your time.
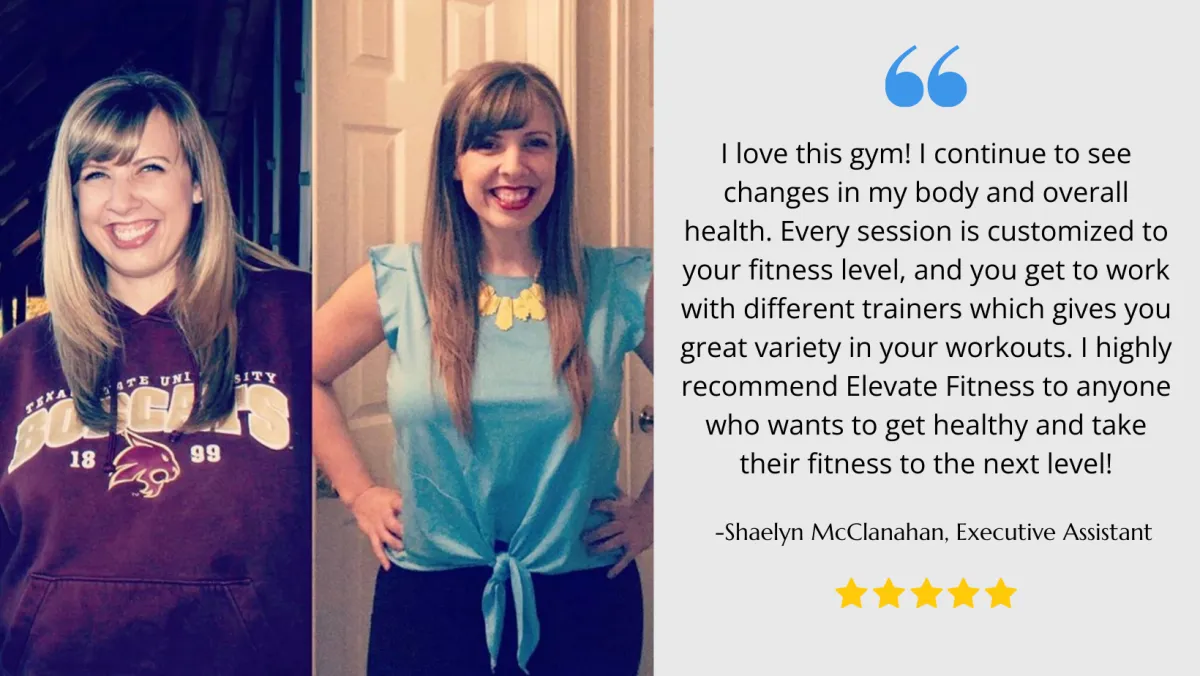
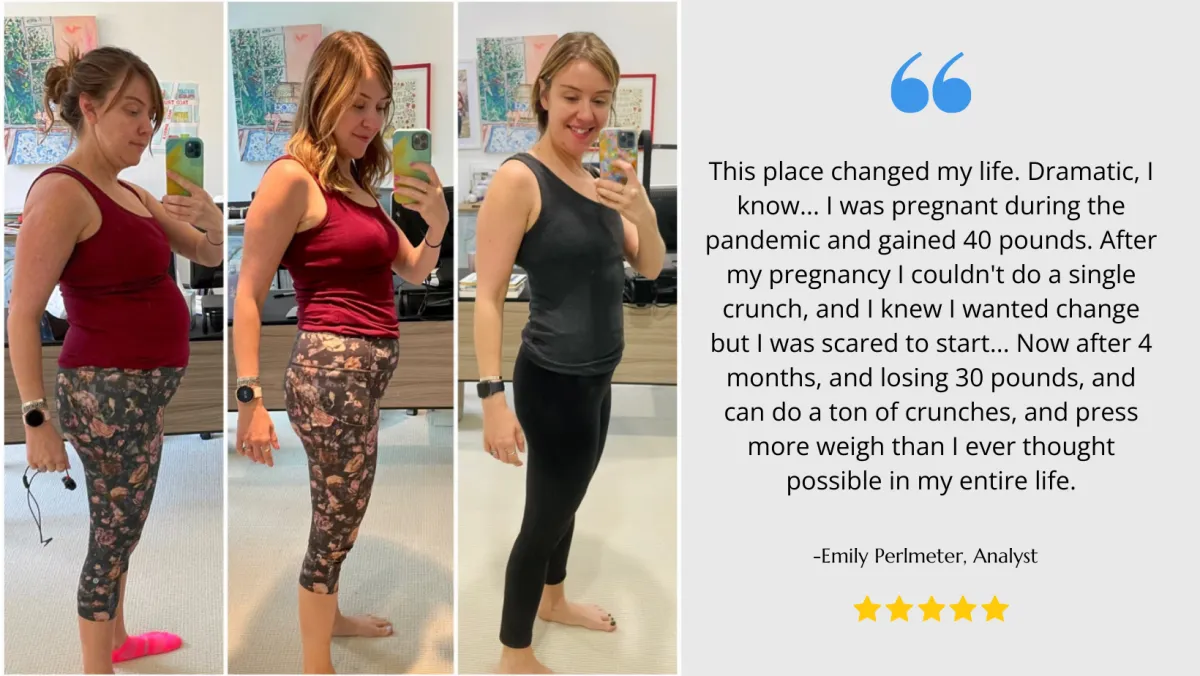
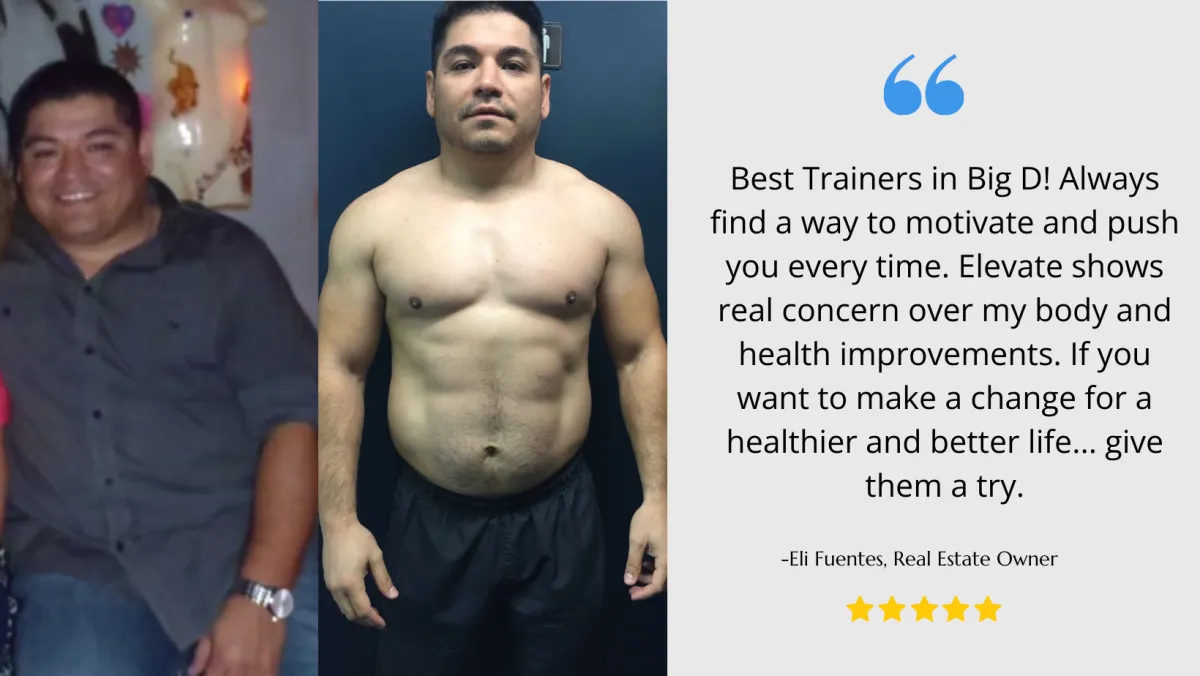
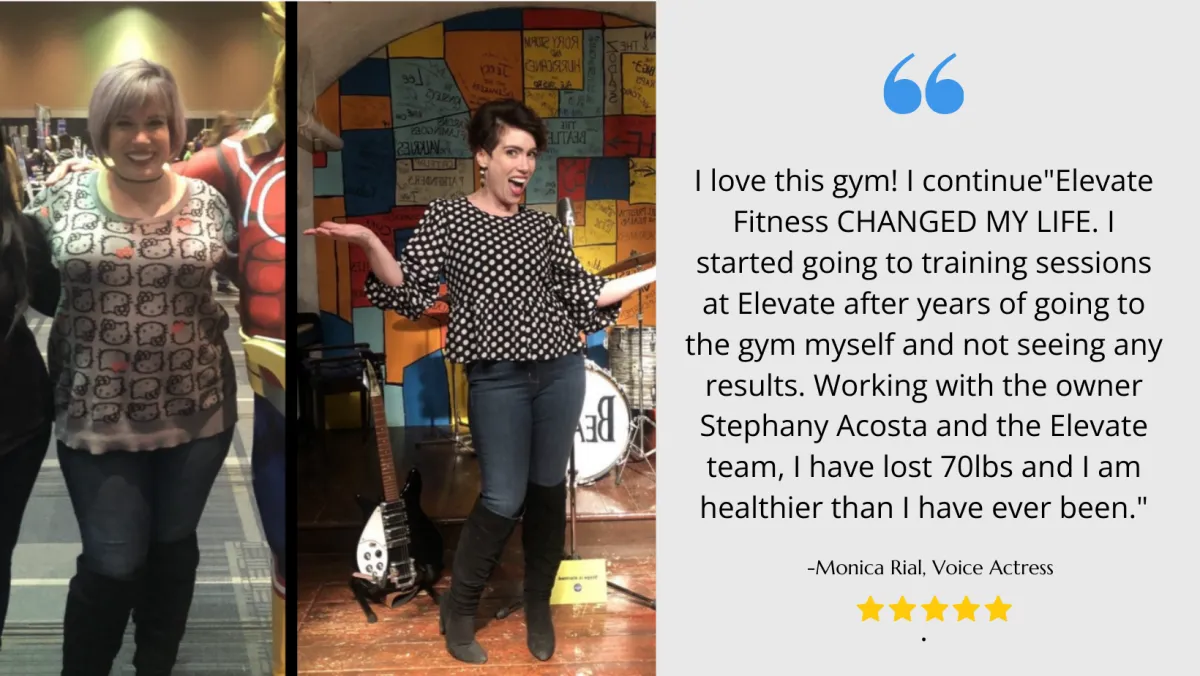
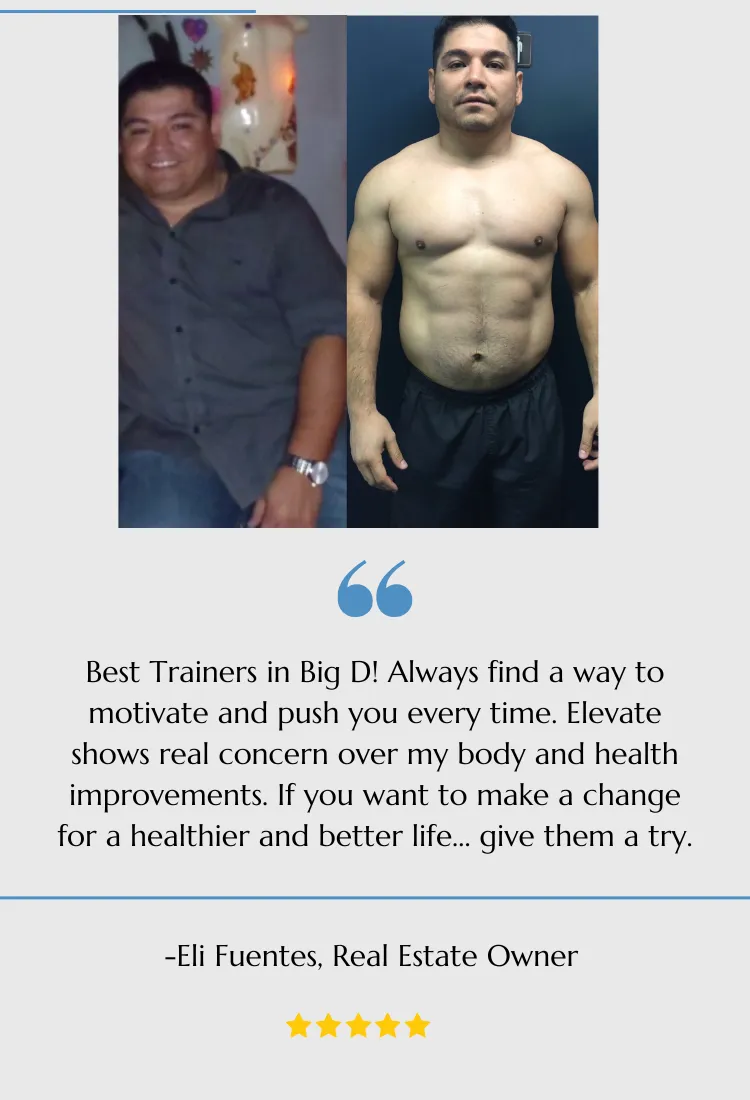
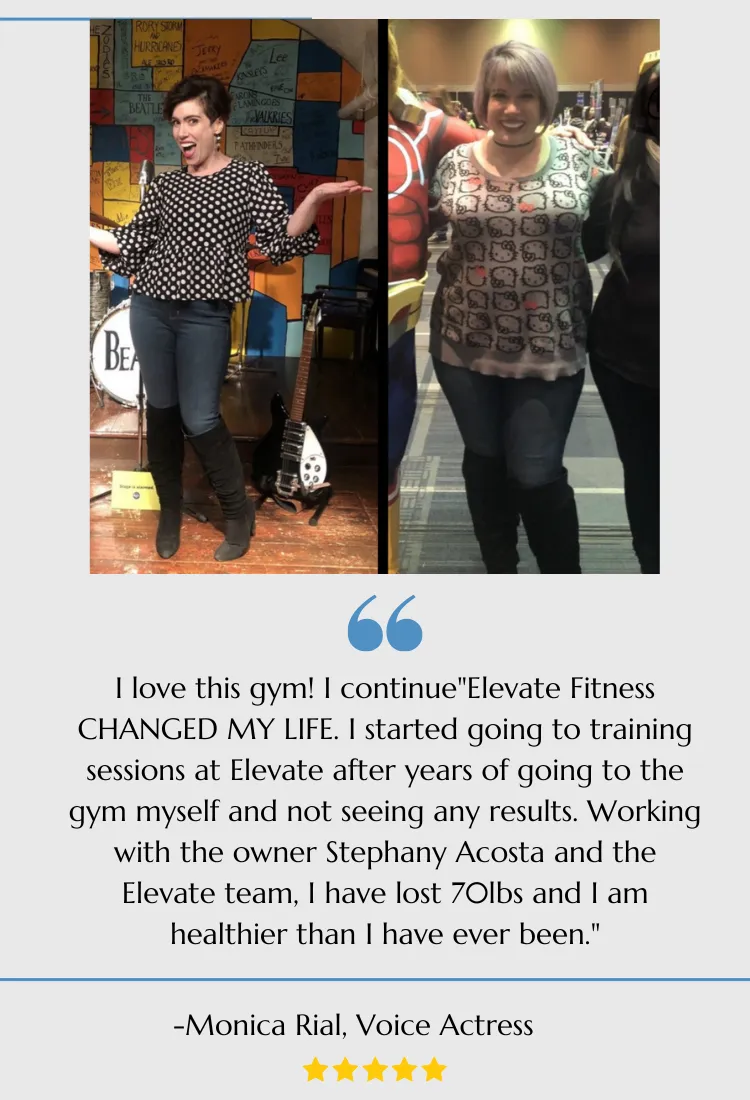
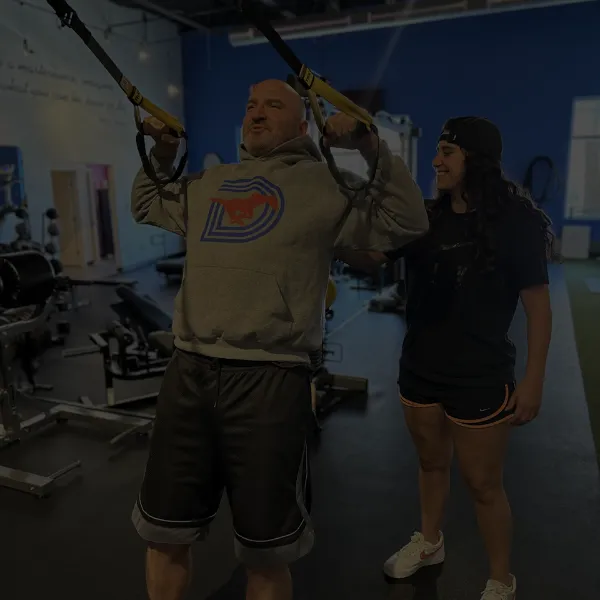
Real People. Real Results.
See what intelligent training looks like when safety, strength, and time matter.


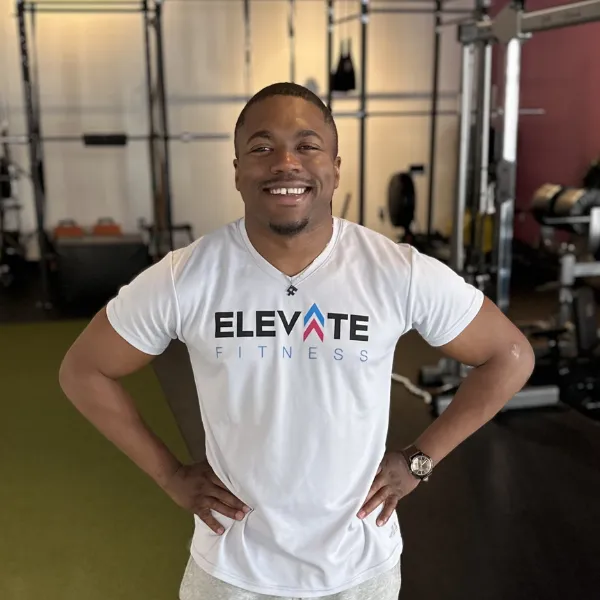
Meet The Team
All of our fitness specialists are certified by accredited institutions

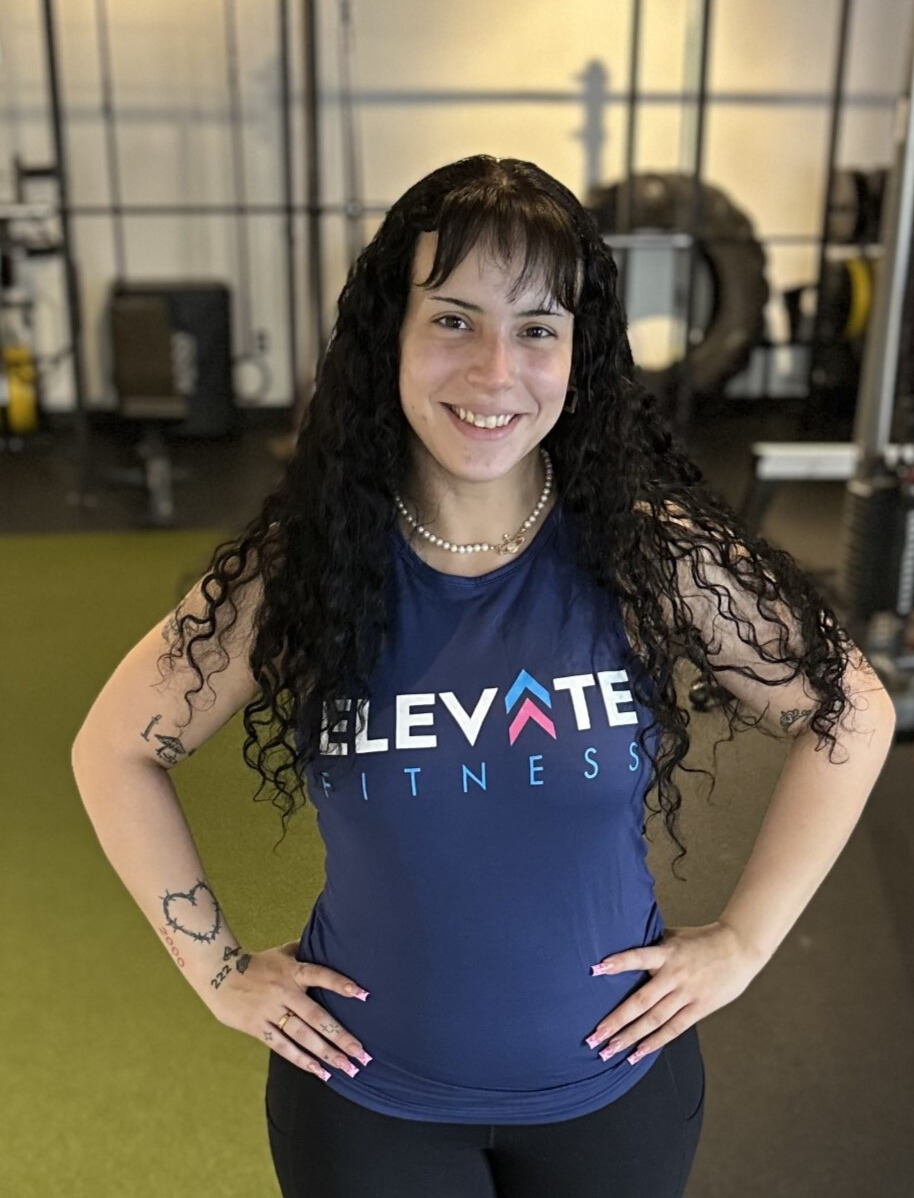
Stephany received her personal training certification at the Cooper Institute in Dallas Texas.
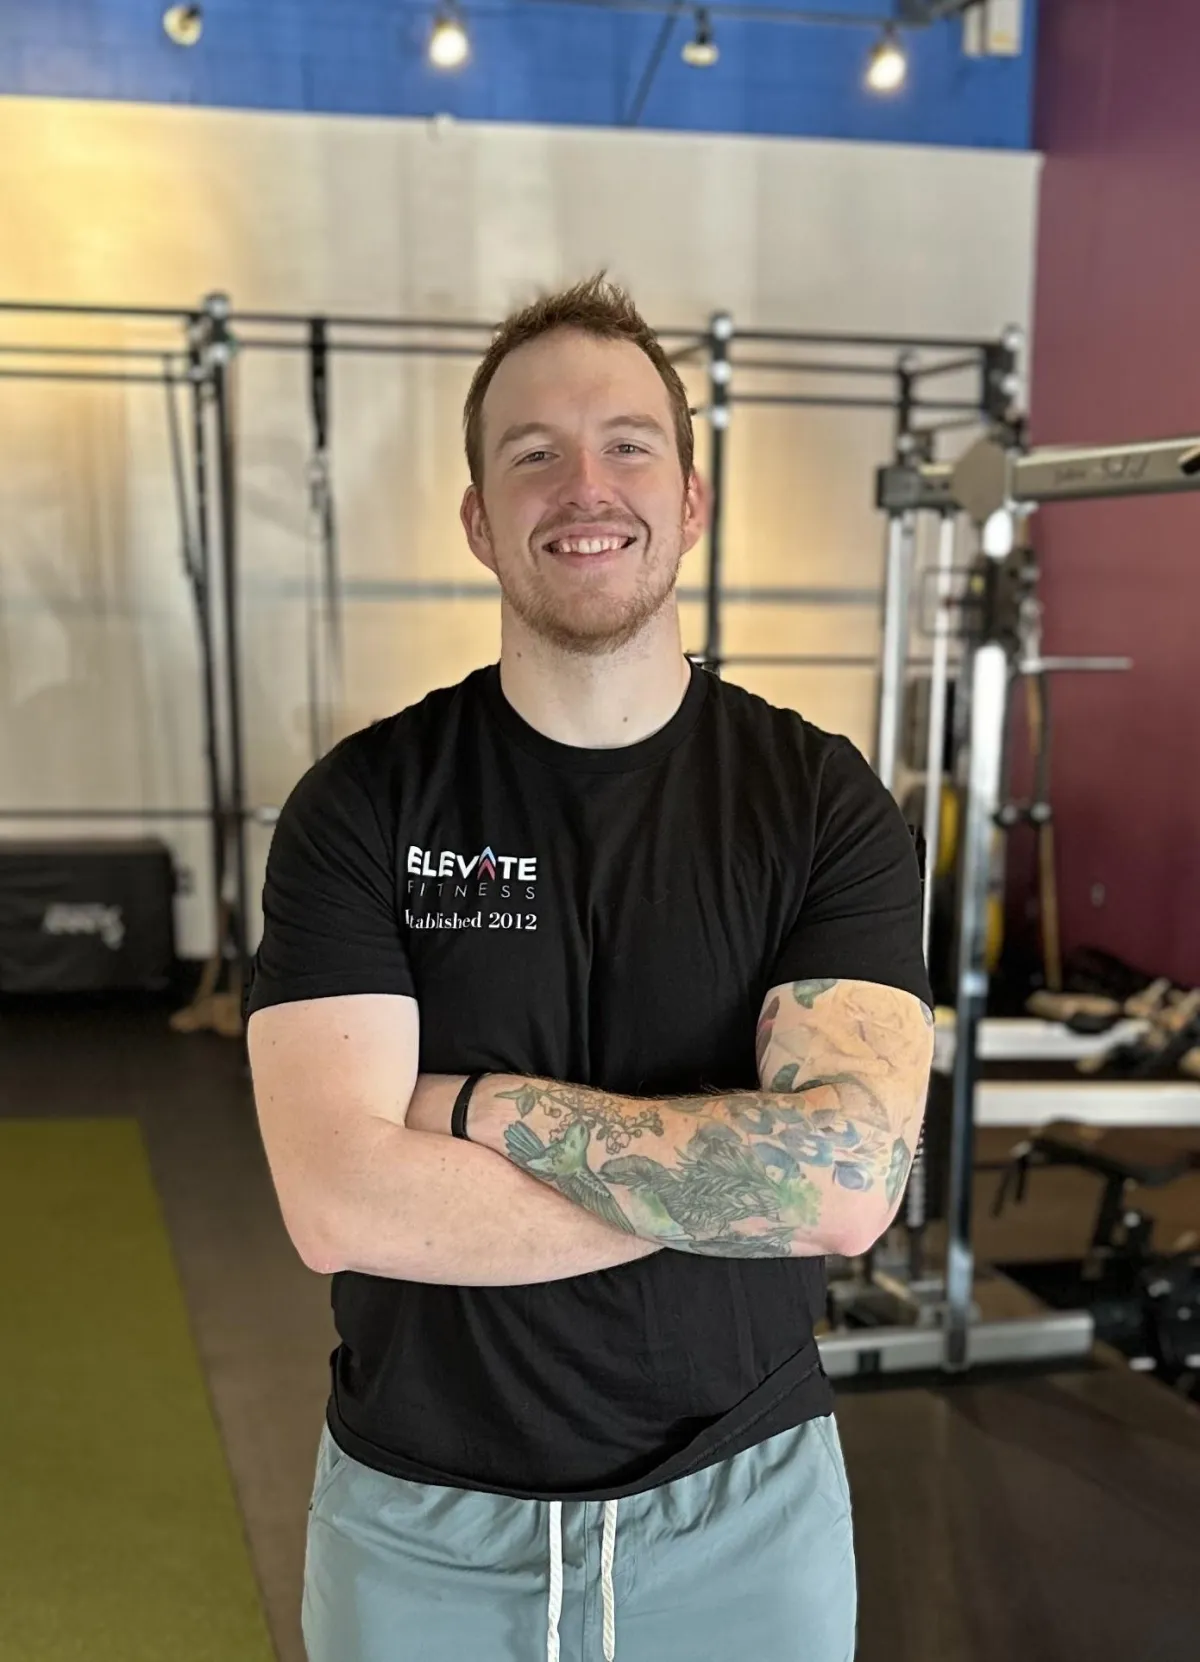
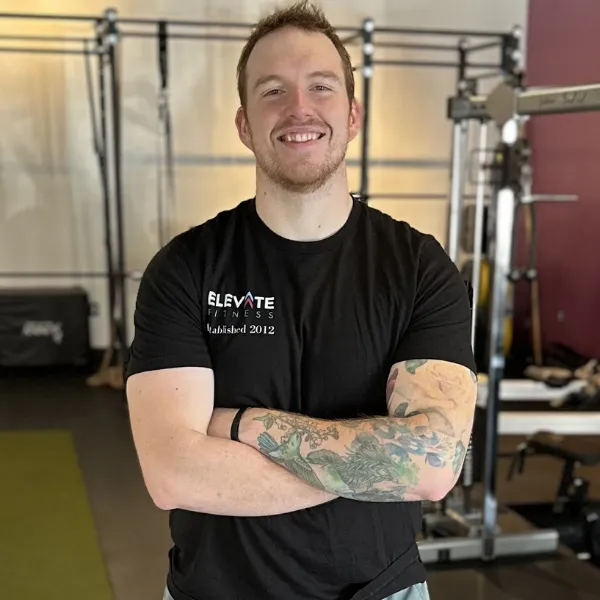
Tryston Received his personal training certification through the American Council of Exercise.

Zoe graduated from college with her Bachelors in Kinesiology.
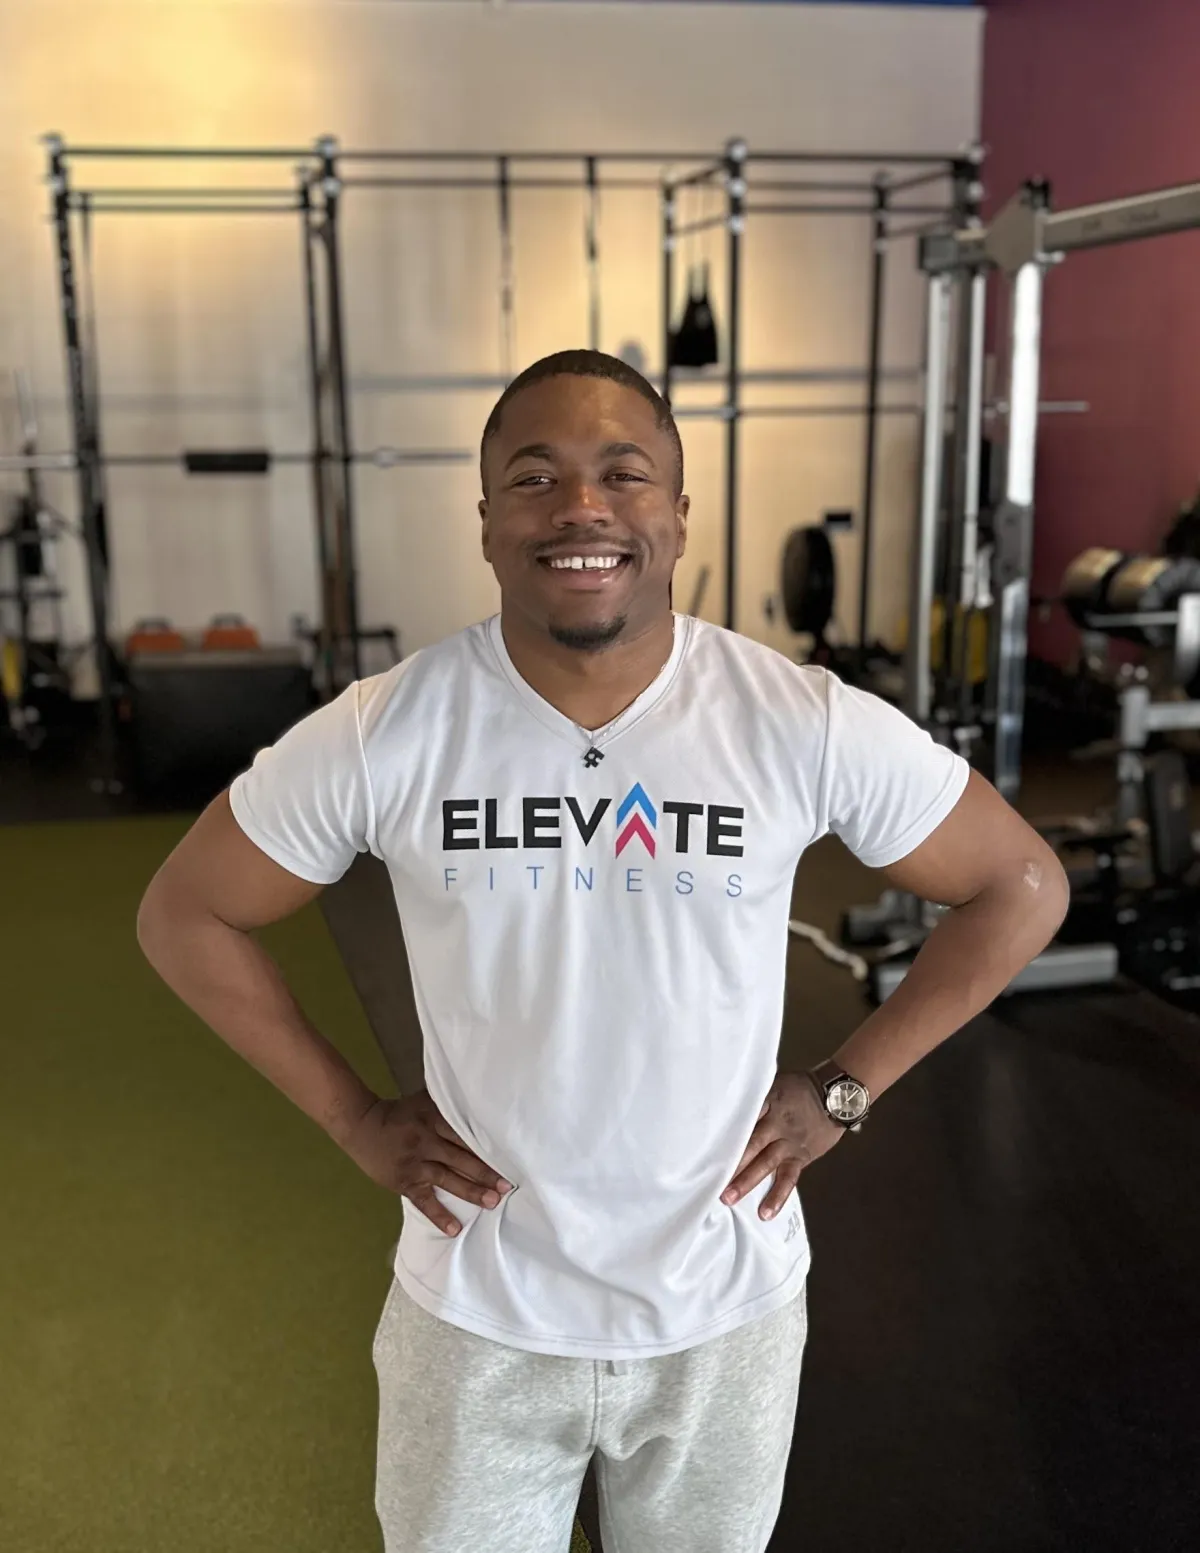
Travon studied Psychology before switching to Kinesiology to focus on how the body works.
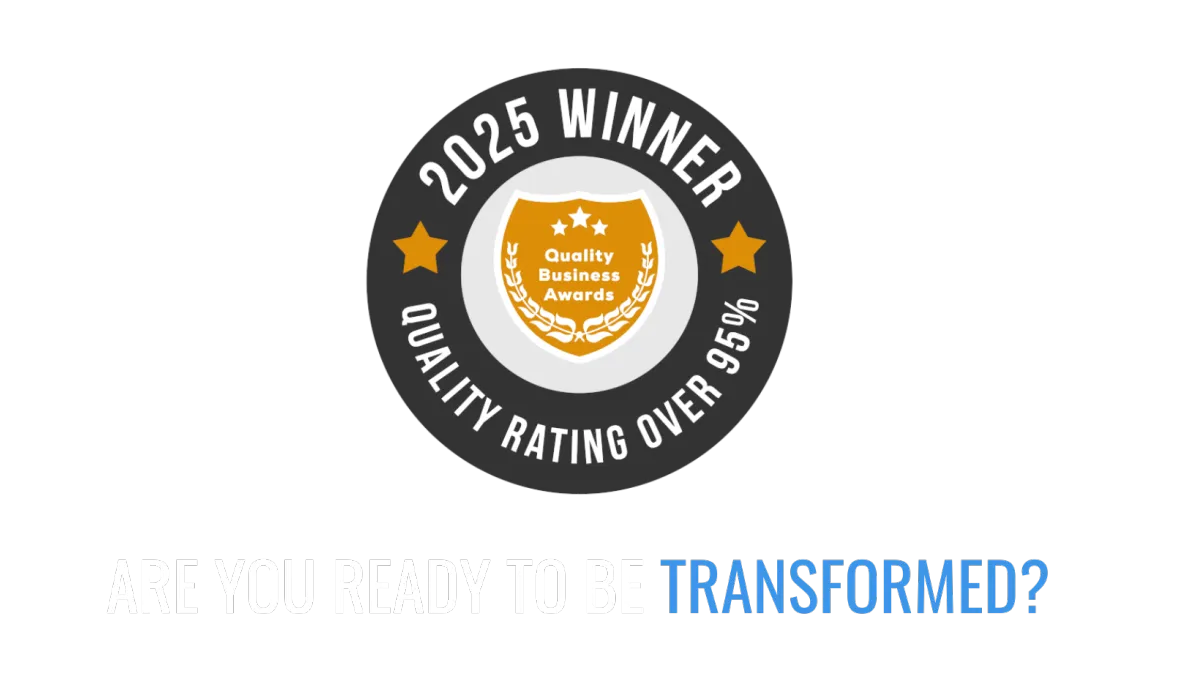
5 STAR RATED SERVICES
⭐⭐⭐⭐⭐
EVERYTHING YOU NEED TO REACH YOUR FITNESS GOALS
From personal training to nutrition guidance, Elevate Fitness offers expert guidance and proven programs tailored to every lifestyle.
1:1 PERSONAL TRAINING
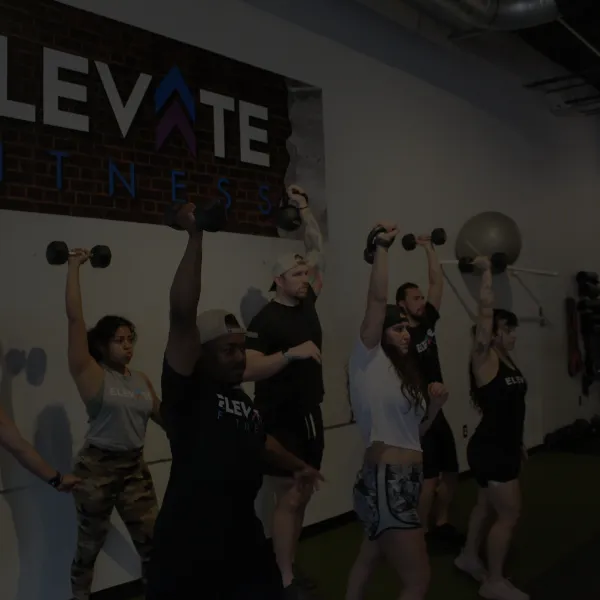
SEMI-PRIVATE TRAINING
NUTRITION GUIDANCE

SCHEDULE A PRIVATE CONSULTATION NOW TO GET STARTED!
Join Our Private List
Get monthly education, private updates, and exclusive access.
© Copyright 2025 Elevate Fitness. All rights reserved.